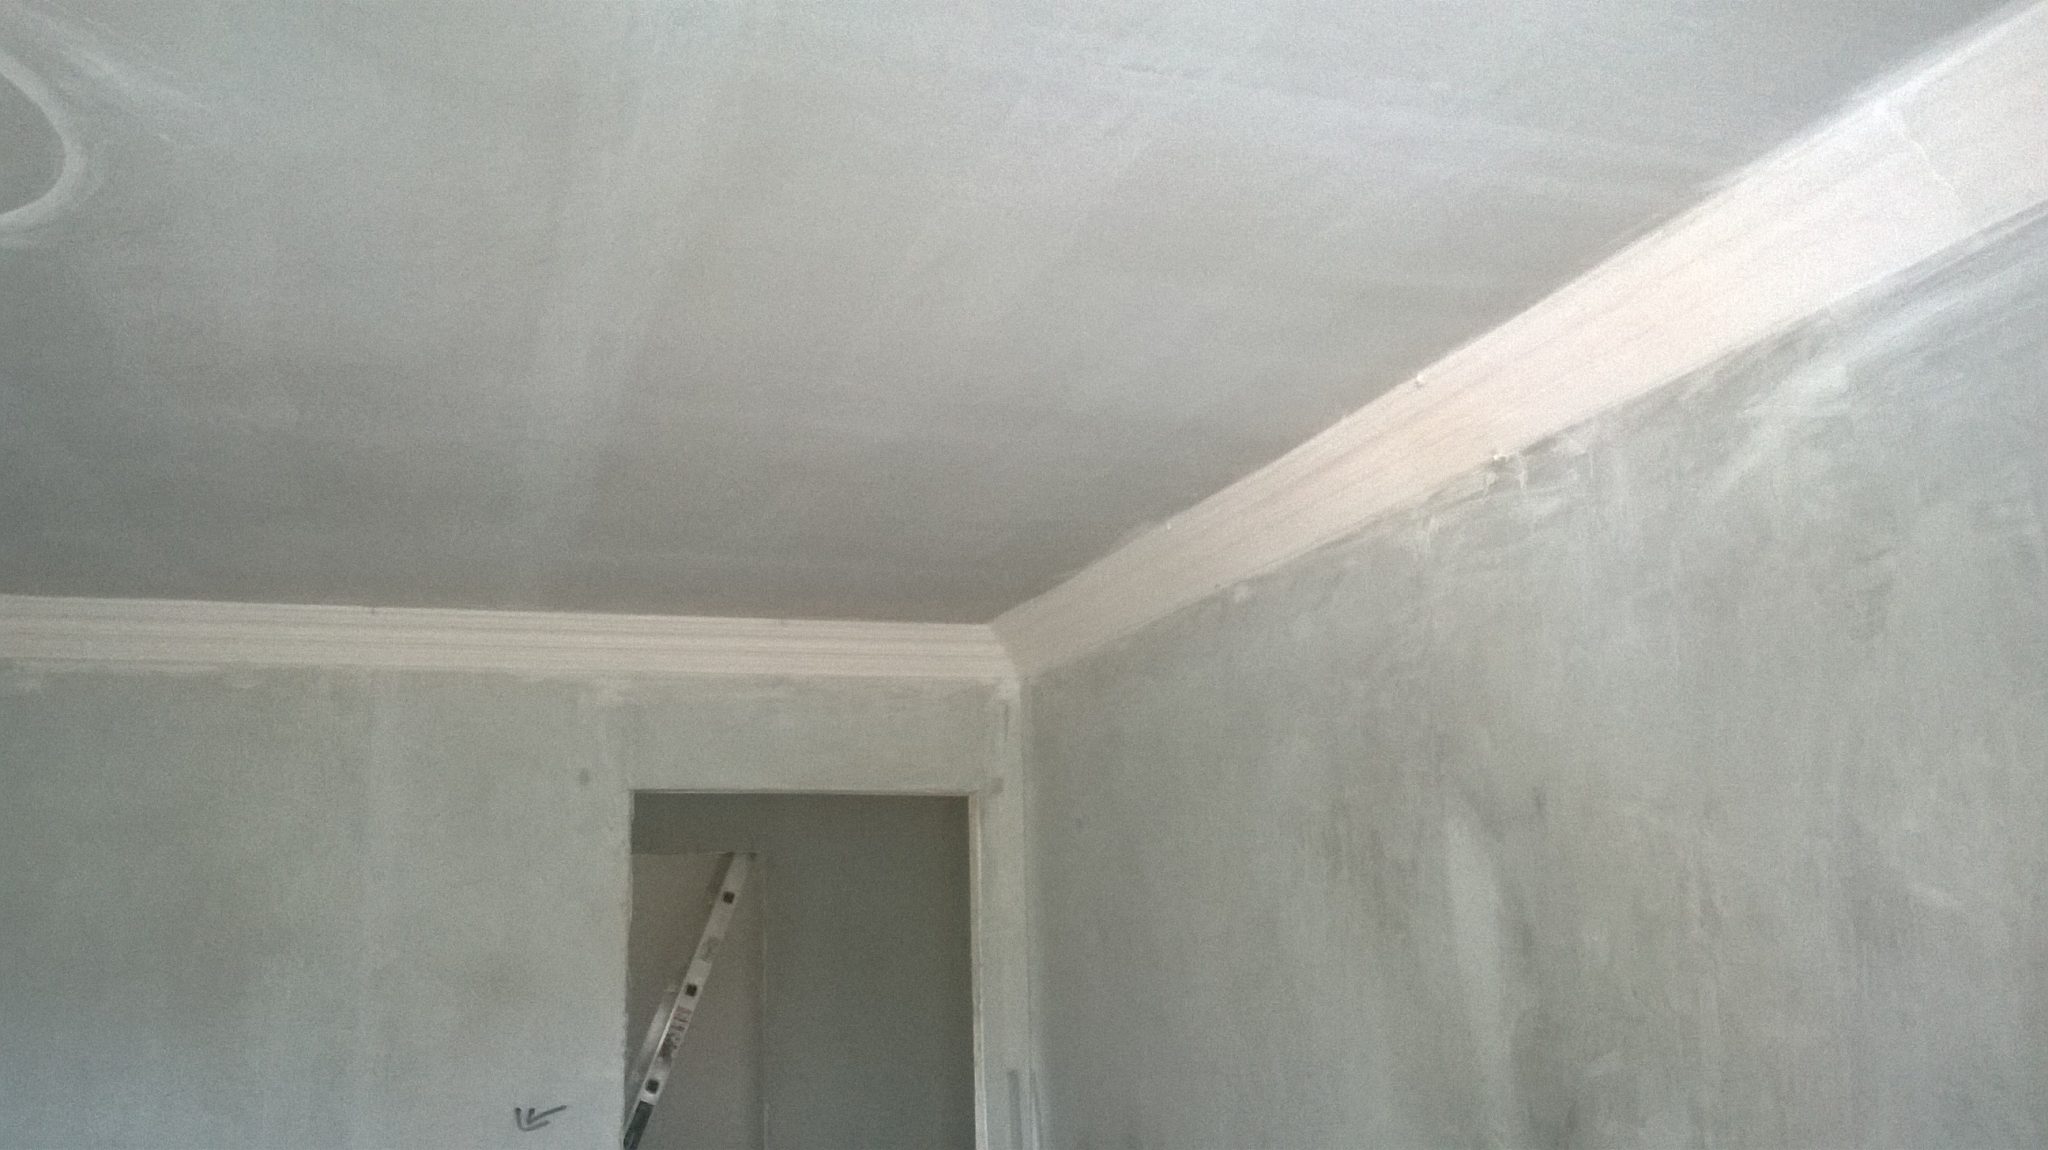
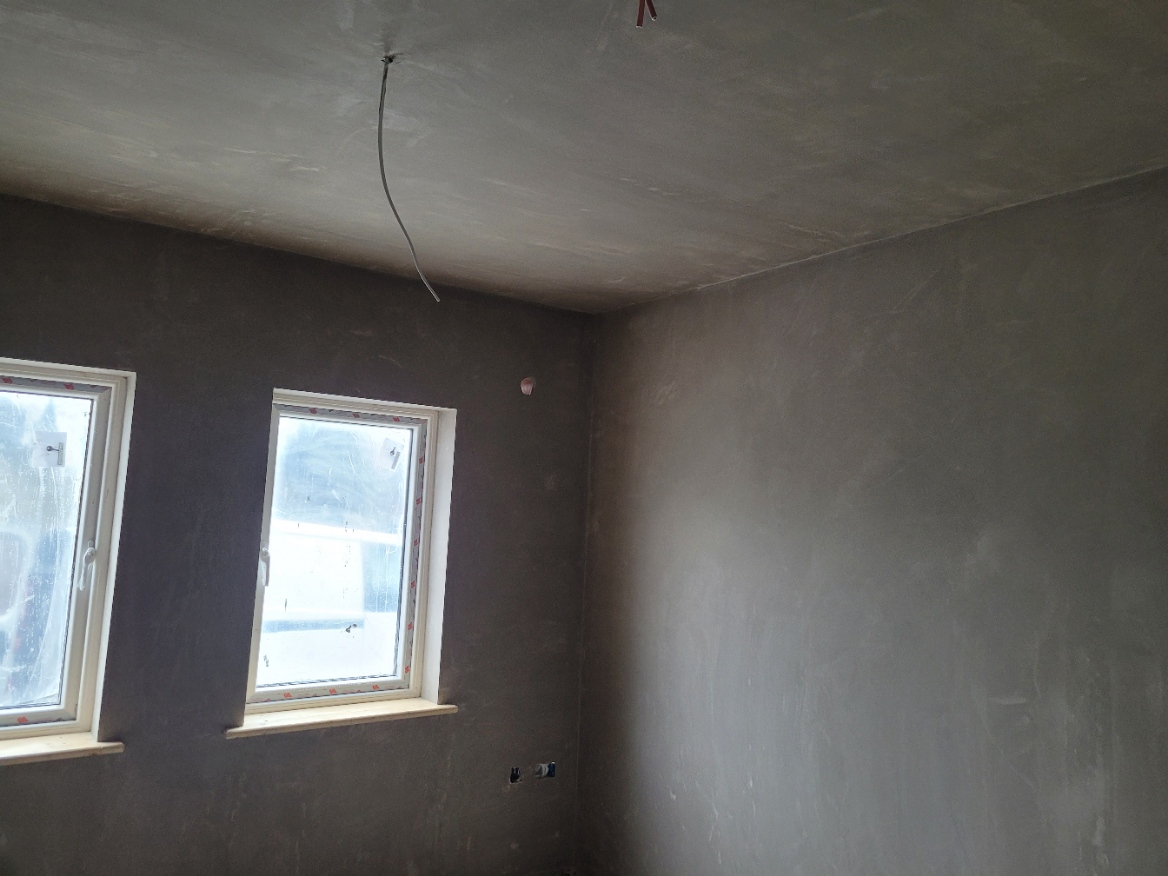
Skimming a wall is one of the best ways to transform rough, damaged, or uneven surfaces into a perfectly
smooth finish ready for painting or wallpapering. While it takes practice to master, understanding the correct technique and using the right tools can help you achieve professional-looking results.
Whether you’re renovating an older home or refreshing a newly plasterboarded room, this guide explains everything you need to know.
What Is Wall Skimming?
Wall skimming is the process of applying a thin coat of finishing plaster over an existing surface to create a smooth, even finish. Typically, only 2–3mm of plaster is applied, making it ideal for:
- Covering damaged plaster
- Smoothing textured walls
- Finishing plasterboard
- Preparing walls for decorating
- Repairing old surfaces before painting
Before starting, gather the following equipment:
- Stainless steel finishing trowel
- Plasterer’s hawk
- Mixing bucket
- Paddle mixer
- Clean water
- Finishing plaster
- Paint brush
- Spray bottle or water brush
- Corner trowel (optional)
- Sandpaper (minimal use if required)
Step 1: Prepare the Wall
Preparation is the key to a successful skim.
Before applying plaster:
- Remove loose paint or wallpaper.
- Fill large holes and cracks.
- Brush away dust and dirt.
- Ensure the wall is stable.
- Protect floors with dust sheets.
If the wall is very porous, apply a bonding agent or PVA according to the manufacturer’s instructions. This helps control suction and prevents the plaster from drying too quickly.
Step 2: Mix the Plaster
Always use a clean bucket.
- Add clean water first.
- Slowly add plaster.
- Mix using a paddle mixer until smooth.
- Aim for a creamy consistency similar to thick custard.
Avoid making the mix too runny, as it will slide off the wall.
Step 3: Apply the First Coat

Load plaster onto your hawk and transfer a small amount to your trowel.
Working from the bottom corner:
- Hold the trowel at approximately a 15° angle.
- Apply firm, even pressure.
- Spread plaster upwards in smooth strokes.
- Keep the coat around 2mm thick.
Don’t worry if the surface isn’t perfect at this stage.
Step 4: Flatten the First Coat
After several minutes, the plaster will begin to firm up.
Go back over the wall using clean trowel strokes to:
- Remove ridges
- Fill small holes
- Even out high spots
Keep the trowel clean throughout.
Step 5: Apply the Second Coat
The second coat is much thinner—around 1mm.
Apply it while the first coat is still slightly damp.
This coat fills any remaining imperfections and creates the final smooth finish.
Step 6: Trowel the Surface
As the plaster firms up, make several finishing passes.
Lightly dampen the wall using a spray bottle or brush.
Each pass should:
- Smooth imperfections
- Remove trowel lines
- Compress the plaster
- Create a polished finish
Avoid overworking the surface.
Step 7: Allow the Wall to Dry
Fresh plaster changes colour as it dries.
Initially, it appears dark pink or brown before becoming a uniform light pink.
Drying usually takes:
- 2–5 days in warm conditions
- Up to a week in cooler or damp environments
Never paint plaster until it is completely dry.
Painting Fresh Plaster
Before applying your chosen paint:
- Apply a mist coat (approximately 70% matt emulsion and 30% water).
- Allow it to dry completely.
- Apply two full coats of paint.
This seals the plaster and ensures good paint adhesion.
Common Mistakes to Avoid
- Mixing plaster too thick or too thin.
- Applying coats that are too thick.
- Using dirty tools or buckets.
- Letting plaster dry before flattening.
- Over-trowelling.
- Painting before the plaster has dried fully.
Pro Tips
- Always mix fresh plaster—never retemper by adding water once it begins to set.
- Keep tools spotless for the smoothest finish.
- Work in manageable sections.
- Maintain a wet edge to avoid visible joins.
- Good lighting helps you spot imperfections before the plaster sets.
Frequently Asked Questions
How thick should skim plaster be?
A finished skim coat is usually around 2–3mm thick across two coats.
Can I skim over painted walls?
Yes, provided the paint is sound and the surface is properly prepared. Glossy paint should be lightly sanded or treated with a suitable bonding primer.
Do I need to sand skimmed plaster?
Very little sanding should be needed if the wall has been trowelled correctly. Excessive sanding often indicates the plaster wasn’t finished properly.
How long should I wait before decorating?
Wait until the plaster has dried to a consistent light pink colour before applying a mist coat and then your chosen finish.
Final Thoughts
Skimming a wall is a skill that improves with practice. Careful preparation, correctly mixed plaster, and patient trowelling are the keys to achieving a smooth, professional finish. Whether you’re renovating a single room or tackling a full property refurbishment, taking your time at each stage will produce a wall that’s ready for years of flawless decoration.